What’s the one downside to owning Cavalier King Charles Spaniels? The way they want to sit in your lap even in the heat of summer? The licking? The poop? No!
The real problem with owning a dog is their nails. I despise cutting the dog’s nails, and I’ll tell you why.
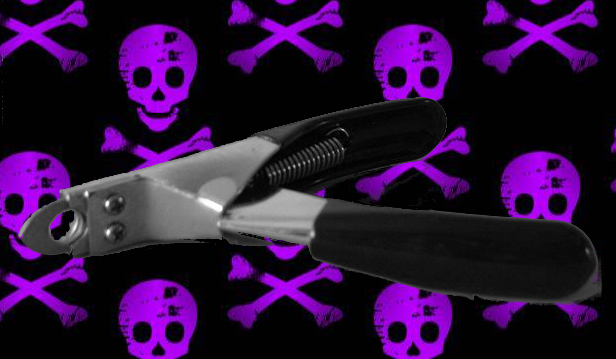
 It’s these clippers. These guillotine clippers. To be fair, I find them easier than the scissor kind, but still. They are doom. Dog’s nails are unlike our nails in that in the center of those claws, they have some blood vessels and nerve endings. This is called the quick. And if you accidentally cut the quick, well, ow! The poor puppy cries, and I cry, and it just won’t stop.
I have learned a few tricks, however, that I would like to share:
How to stop the bleeding

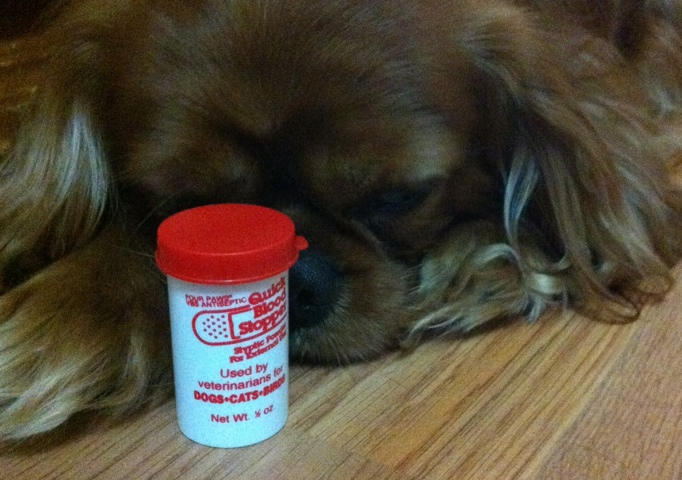
Bingley showing the Quick Blood Stopper
This requires some planning. There is a product called styptic powder sold under the brand Quick Blood Stopper. It is a yellow powder which is quite easily applied using a moistened cotton applicator or Q-tip. The styptic powder also contains some anti-bacterial and pain killing agents and is just a good thing to have around for your Cavalier King Charles Spaniel.
Now, that’s all well and good if you have styptic powder. But if you don’t, try making a paste of cornstarch, flour and water.
The secret of nail cutting
The real secret of nail cutting is, in the words of Pixar’s Mater, “to not to.” If your dog is regularly walking on concrete sidewalks, her nails should naturally file down. However, this is Texas and it has been 107° for the past few weeks and no one’s going to fault you for not taking your Cavalier King Charles Spaniel for 30 minute walks.

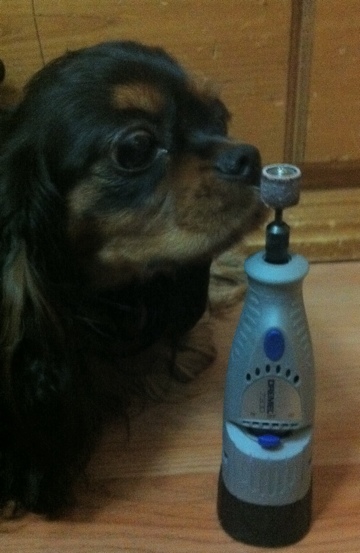
Lulu checking out our Dremel
So the other secret is a product called a Dremel. You may already have a dremel in your tool box as it’s spectacular for creating some amazing pinewood derby cars. But if you don’t, the most basic model is about $35 from Amazon and is perfect for Cavaliers. And the best part about it is that you will not cut too far as it cauterizes the nail as it grinds. It requires a small learning curve for you and your Cavalier King Charles Spaniel so to help minimize that, here are some tips:
- It can burn. Do not leave the dremel grinding for more than a second or your dog will feel the heat. I recommend taking a two or three second pause between grindings.
- Use the low setting. It can go really fast, but low is all you need for nail trimming.
- Watch out for hair. As Wendy and I learned the first time we tried it. Her hair got caught in the rotation and it took quite some effort to get her untangled. This is especially difficult on the dewclaws. Which leads me to…
- Don’t forget the dewclaws. Cavaliers have a fifth claw on their front legs called a dewclaw. Some breeders remove these at birth, but if your puppy still has them, you have to make sure to file the dewclaw. An uncut dewclaw can cause other problems.
- Go with the curve. The nail curves down, you want the rotation of the Dremel to go with the curve of the nail. It’s much harder to control if you are going the wrong way.
- Let your dog be your guide. If the first time you use the Dremel your dog has a traumatic experience, then it’s likely to be a source of fear later on.
- Bath Towel. If you wrap your dog tightly up in a towel, exposing only the paw on which you are working, she will feel more secure and your learning curve will be a much easier experience for the both of you.
- Set aside some time. Depending on your puppy’s tolerance, the first time may take 20-30 minutes for the two of you to learn to get in the groove. This will become much quicker as the two of you get in the swing.
- Charge the battery. Ours did not come fully charged and it takes about three hours. UPDATE: I have since discarded the battery version and have bought one that plugs in. Nothing worse than doing three paws and having a battery die. Makes the dog sound interesting though: padamp paclick padamp paclick
- The quick can move. After you cut your puppy’s nails, the quick will move back further into the nail. This means that in a few days, you can cut his nails again if they are still too long.
